Making Godzilla 1991 in Shinjuku

Making Godzilla in Shinjuku

3.16.2024

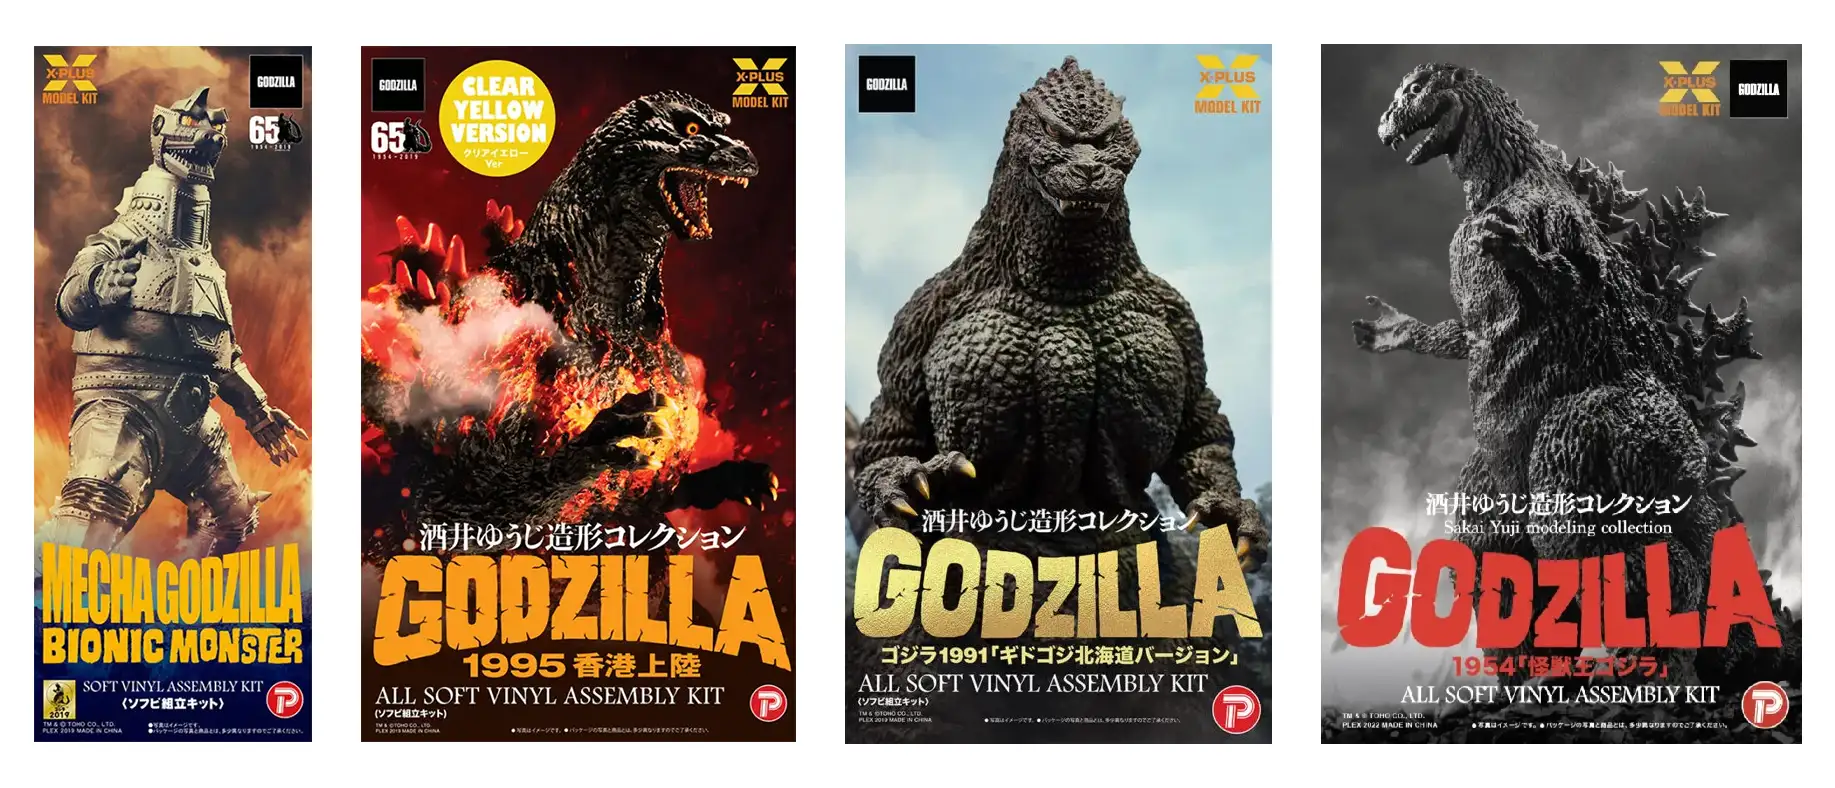
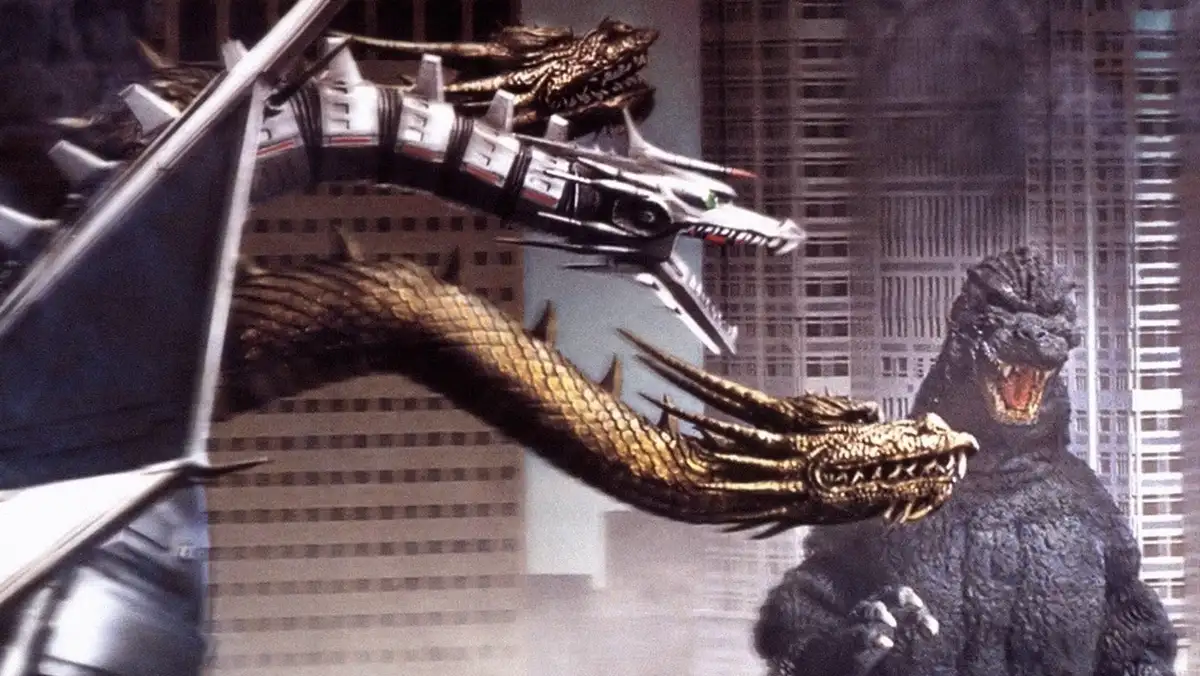
The release of the X-Plus Yuji Sakai Godzilla (1991) Shinjuku Version Vinyl Model Kit (東宝30cmシリーズ 酒井ゆうじ造形コレクション ゴジラ(1991) 新宿バージョン ソフビ組立キット) is my fifteenth box, some of which have not been released as of yet. I had the privilege of creating official Godzilla box art since 2019. I’ve been living a dream. I can never express enough gratitude to Gee-san, Master Yuji Sakai, Matsubara-san, Jeremy Soles, X-Plus and Toho Co. Ltd. for these amazing opportunities.

X-Plus Yuji Sakai Modeling Collection Godzilla (1991) Shinjuku Version All Soft Vinyl Assembly Kit

This one is a personal milestone and is a moment to reflect. My Godzilla toy photography journey began in Nagoya in the late spring of 2014. Then it took an amazing leap from personal to professional in 2019 with the creation of the box art for the X-Plus MechaGodzilla 1974 model kit. Seven years and fifteen projects later have taught me so much and brought some changes. As of late when I don’t have the Godzilla figure in my collection to shoot and the prototype is out of reach, I’ve had to use existing photography. My work has shifted from less toy photography to more digital art.

MyKaiju original Godzilla toy photography box art. See More

The challenges of using existing shots of Godzilla are not all the same as taking the shots use in production. Although I don’t have to spend hours and days trying to get the best shot, the choice of photographs is limited. And I don’t get to control the angles, backgrounds, depth of field, exposure, lighting, resolution, etc. I have less control, requiring more creativity and Adobe Photoshop techniques. I feel that this latest project is one of my favorites. I was satisfied with the outcome. But nothing is more satisfying than those kit builders who show appreciation for the box art. To celebrate this personal milestone I would like to share my step-by-step process for creating the digital art for Yuji Sakai’s Godzilla 1991 kit.

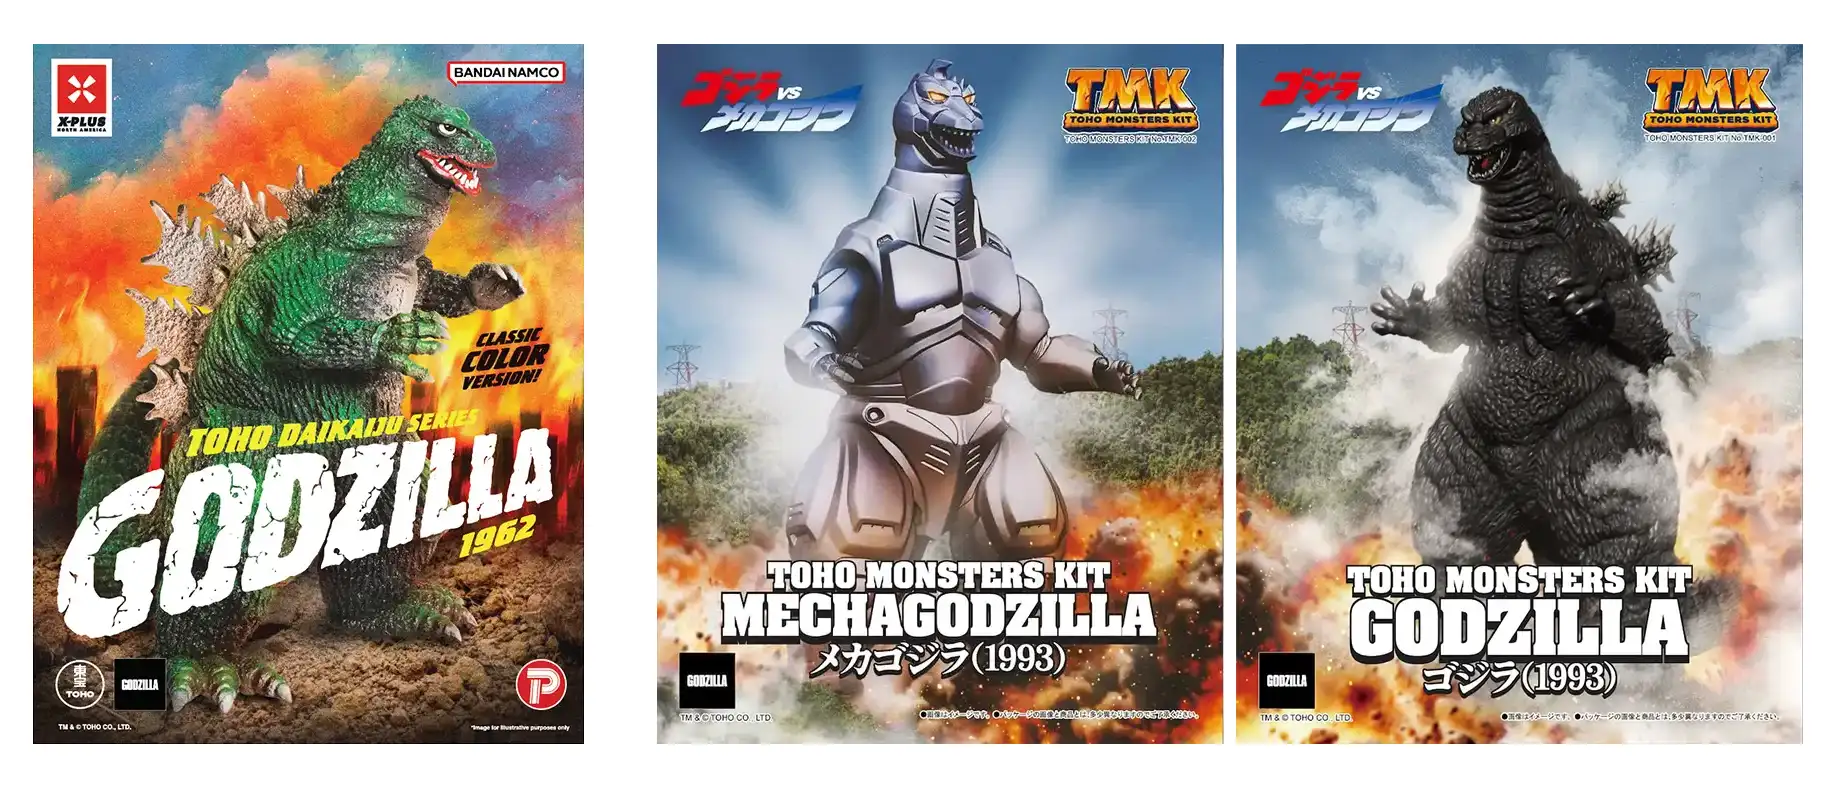
Sample MyKaiju digital box art: X-Plus NA Godzilla 1962 and TMK Godzilla & MechaGodzilla 1993 Model Kits

As soon as I receive an email notifying me about a project the process begins. I’m excited but also hold my breath as I find out the choice of the next Godzilla will be produced in soft vinyl. I have my favorite figures to shoot and those are the most difficult to work with. But the challenge is always accepted and (1) my mind shifts into creative mode imagining what Godzilla scene I get to recreate. I was stoked to create art for Yuji Sakai’s Godzilla (1991( Shinjuku kit but I missed out on the figure. So I turned to available photos. And there was only one choice, the best choice and most obvious. Regardless if I take the photo or another photographer, I look for the shot with the best angle, lighting and shadows for recreating an imagined movie moment.

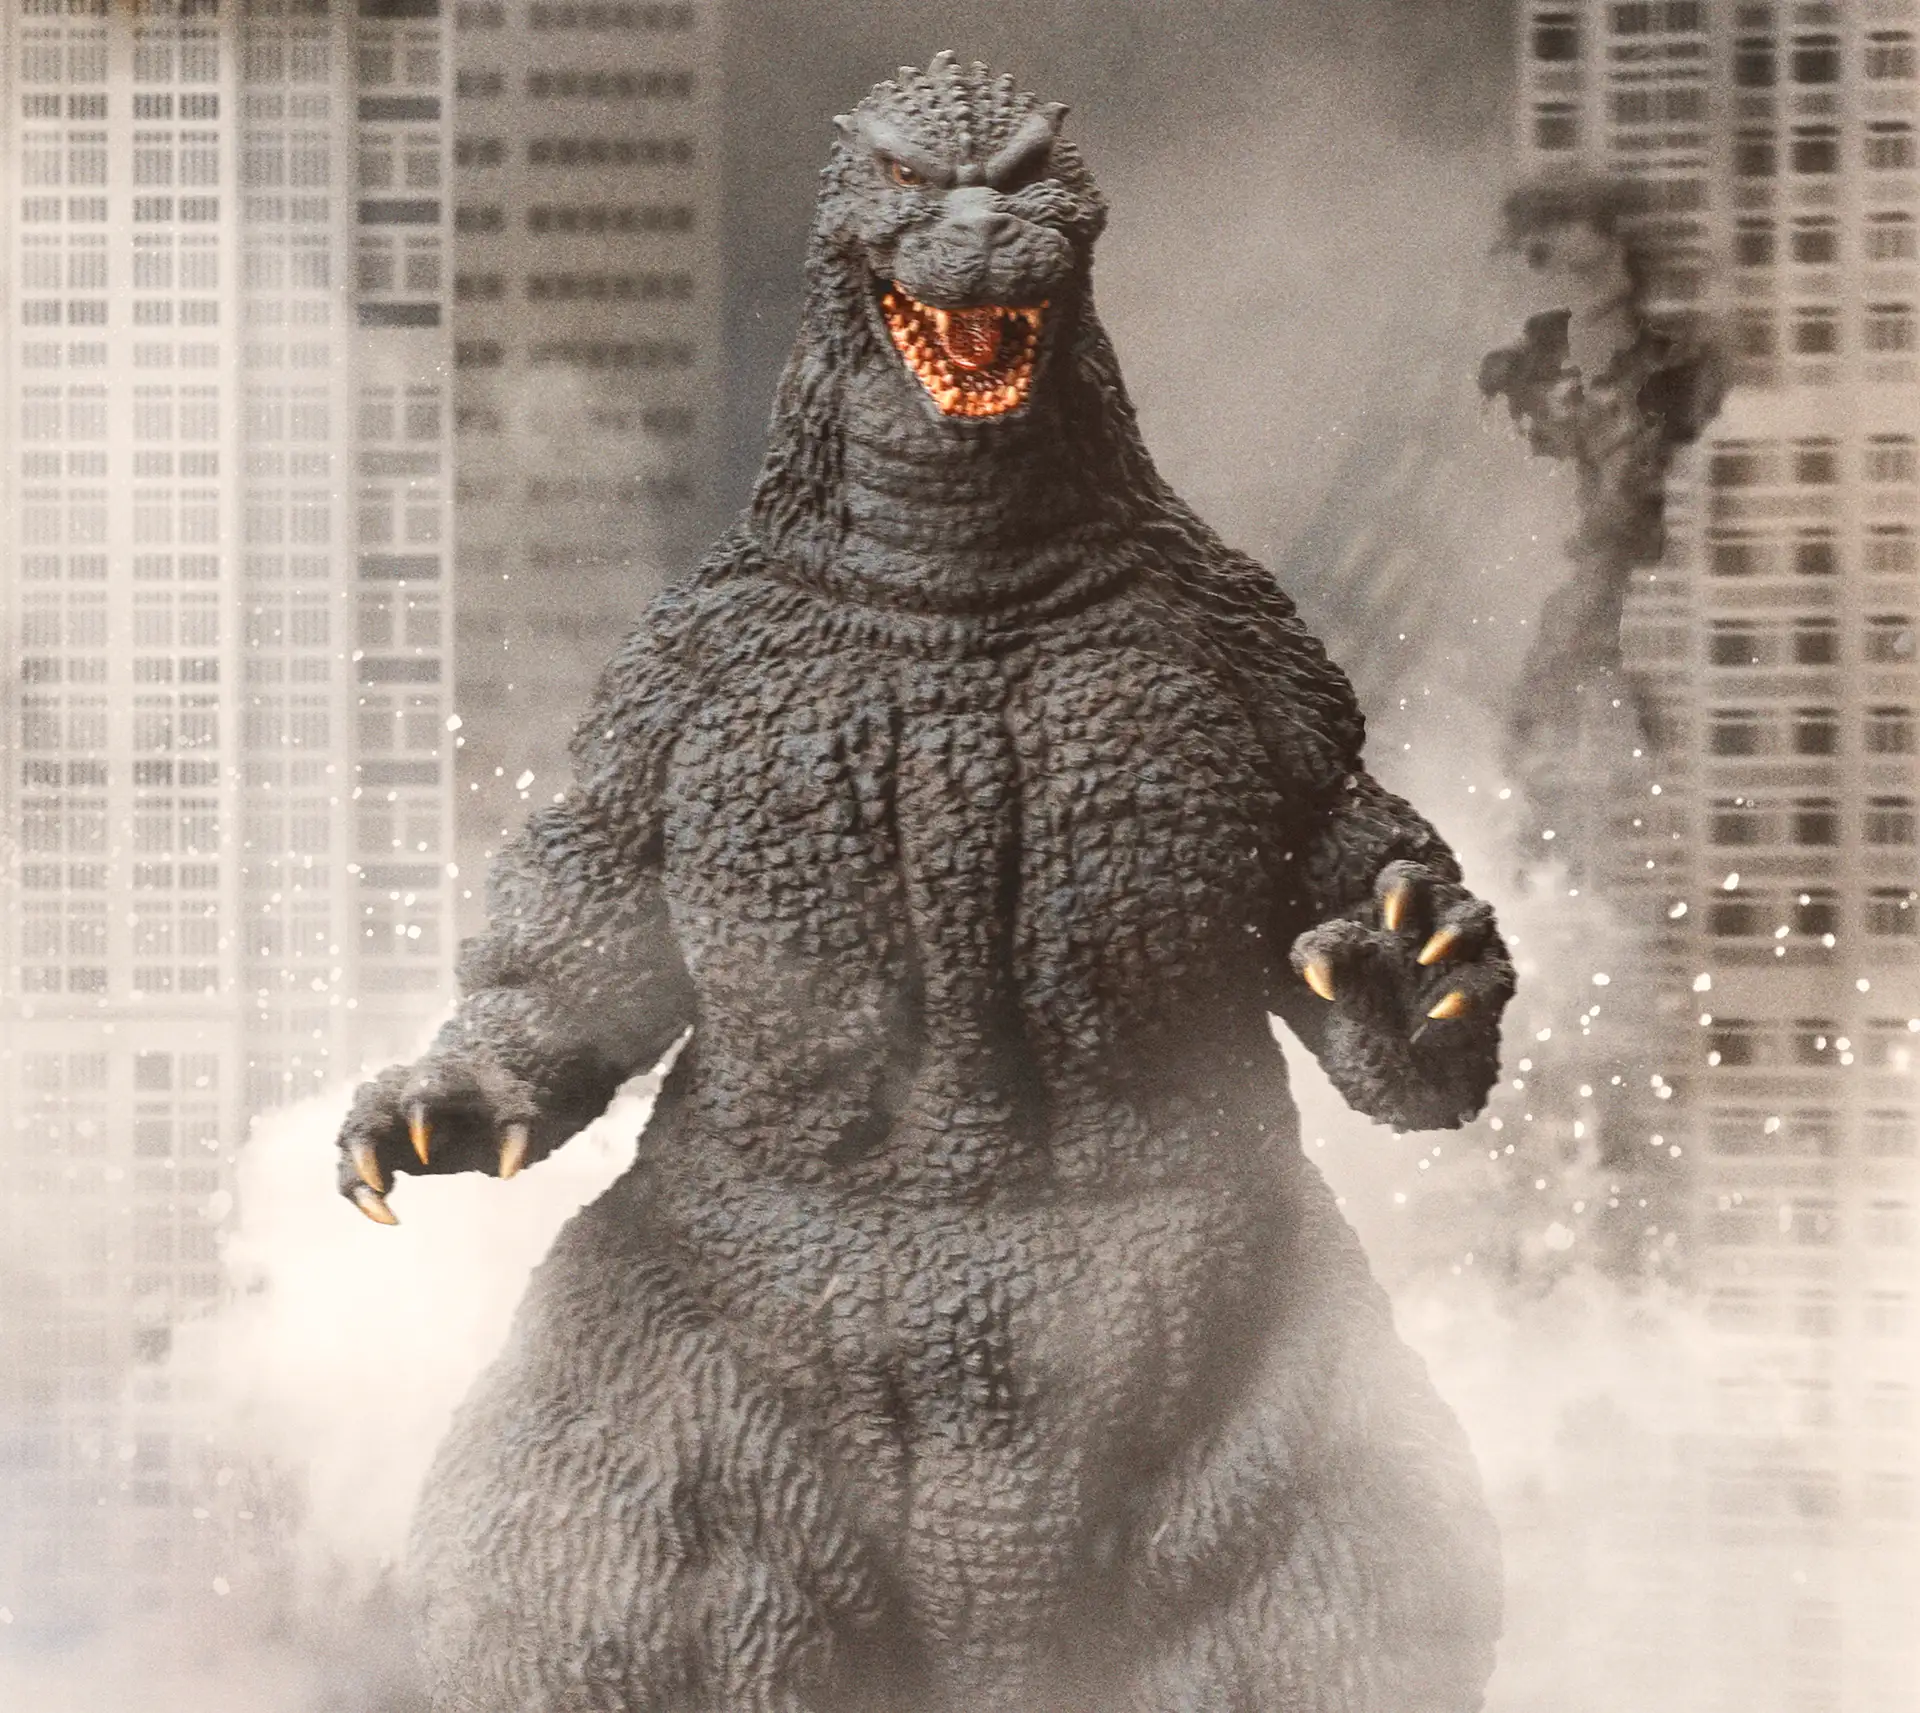
Original photo of Yuji Sakai’s Godzilla (1991) Shinjuku Version Kit provided by X-Plus

Before jumping into Photoshop, (2) I determine if the photo needs to be scaled up in size and resolution. The minimum requirements for the finished size and resolution of the digital art is 100% of the box dimensions at 300 dpi. To scale up art, I turn to Topaz Gigapixel AI. This is what I used for here. Although the original was about 17 x 11.5 inches at 350 dpi, the actual size of Godzilla was only 5.5 x 9.8 inches for a box size of 220mm x 320mm (8.6 x 13 inches). Godzilla needed scaling up to fill the box dimensions without loss of resolution and sharpness. Godzilla needs to be front and center on the box depicted in the best possible way. Showing Godzilla’s full body is the preference but sometimes shots above the waist have shown off the king of the monster best. My goal is to conjure memories of movie moments in the mind of the fan and collector. But there is very little room for elaborate background scenes. The best backgrounds are cropped out and what’s left is covered by text, graphics and logos. But one exception was Toho’s request for the background for the TMK Godzilla and MechaGodzilla (1993) kits to be continuous across both boxes. They require some innovation and careful planning. Finding the right balance between Godzilla and the background is the goal.

Godzilla 1991 silhouette in Adobe Photoshop

Next, (3) I carefully removed the background from around Godzilla with masking using the brush tool in Photoshop. This takes at least an hour. There are occasions when I don’t need a silhouette. However, it is better to have it than not. The photo of Godzilla 1991 was powerful but the figure was set on a dark grey background with light from the left casting the dark shadows on the right side of his face and body. It was imperative to cut him out from the background. In addition, I also separated his tail from the body. During that time, (4) I envision what the finished design could look like. After I’m finished cutting out Godzilla, I watch the movies, search my reference books (eg, Toho SFX Movies Authentic Visual Series) and Google images for stills and scenes for ideas, color profiles and composition. (5) I carefully look at the background and foreground elements (clouds, sky, ground), effects (smoke, flying debris), time of shot (daytime, nighttime), the film grain, depth of field, color and tint, and more. I place these images, photos and screenshots labeled “reference” for ideas as I work.
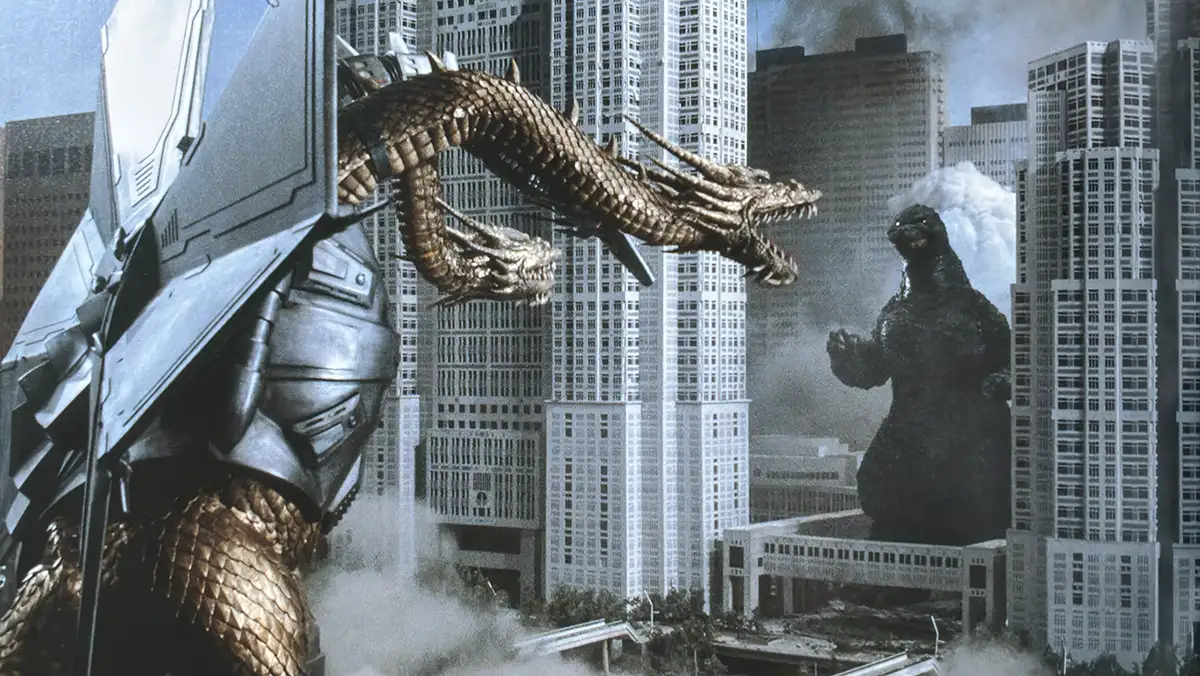
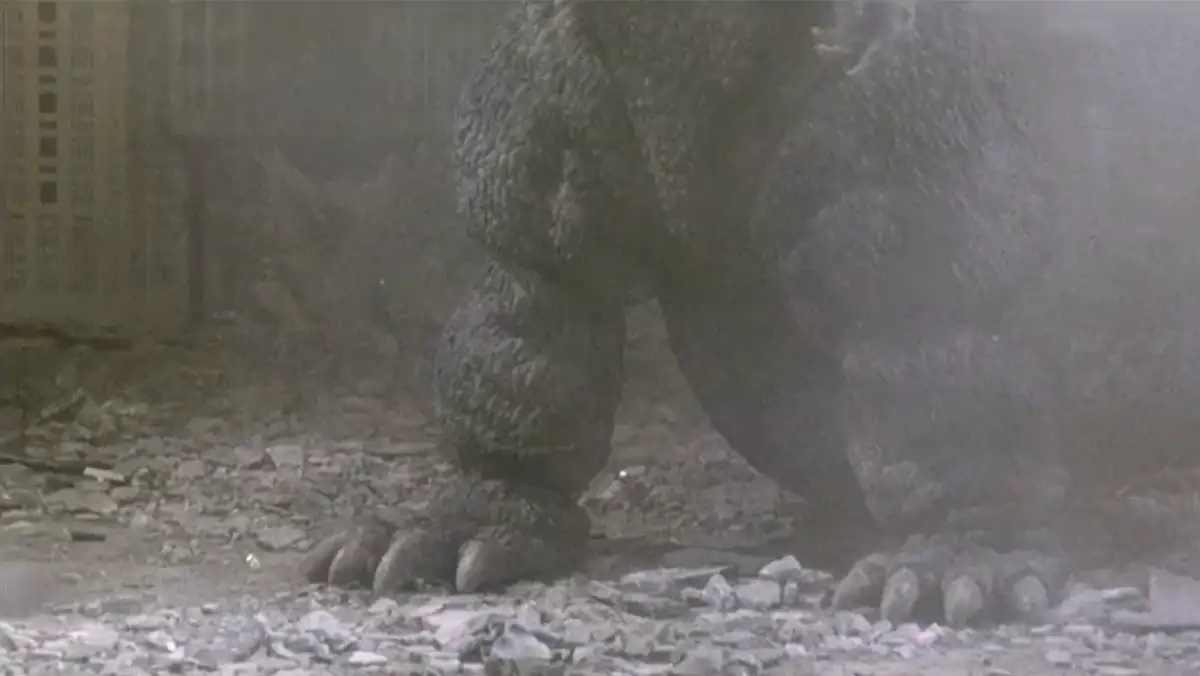
(6) Finding the best direction can be an agonizing process. Sometimes I don’t find the best direction until close to the deadline. I always want to feel good about what I present to clients. Playing with backgrounds and experimenting with layer adjustments are very helpful. For Godzilla 1991, the scene was already determined by the figure. Godzilla battled Mecha King Ghidorah in Shinjuku beside the Tokyo Metropolitan Government Building during the day. Once I’m sold on a direction for any project, (7) I start to build out the art in Photoshop, starting with the background, particularly the ground and the sky. When I’m not working with my original photography, I need to establish where the ground begins and ends. And that depends upon the shot angle that can be determined by the feet. I search through stock photography and art to layer over, below and behind Godzilla’s silhouette. Using the figures original shadows cast on the ground is key in creating seamless art especially when new ground is created. This adds to the realism and assists in making the finished art more convincing.

Adobe Photoshop file of X-Plus Yuji Sakai Godzilla (1991) Shinjuku Version Vinyl Model Kit art

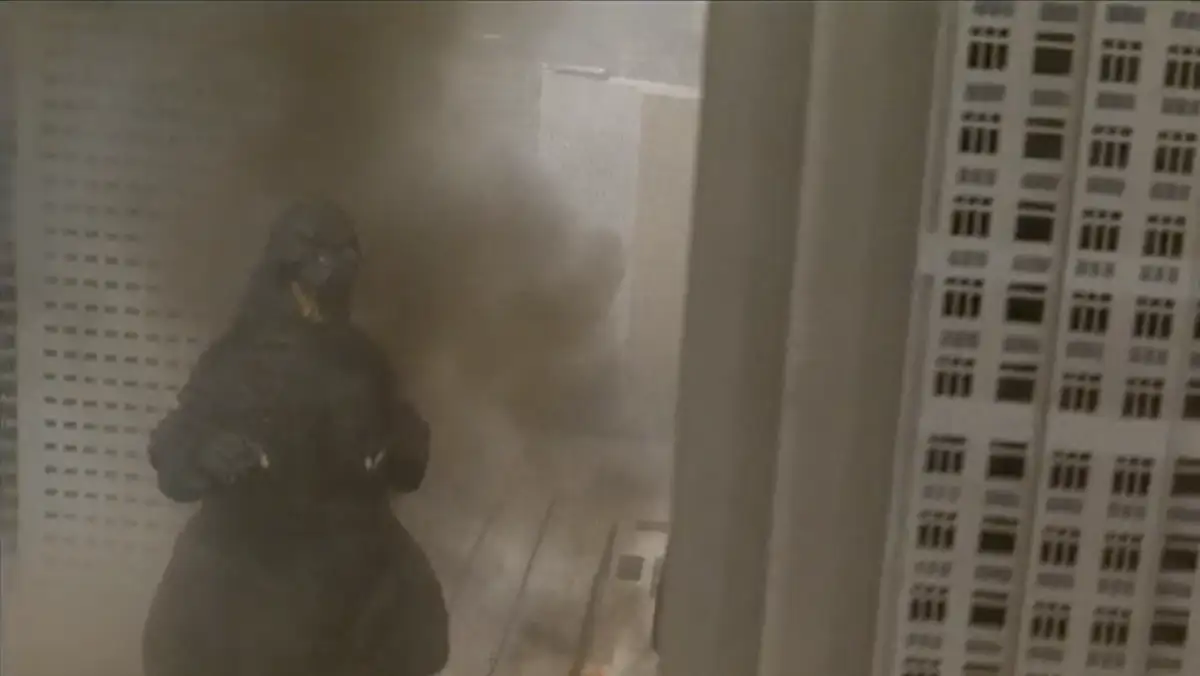
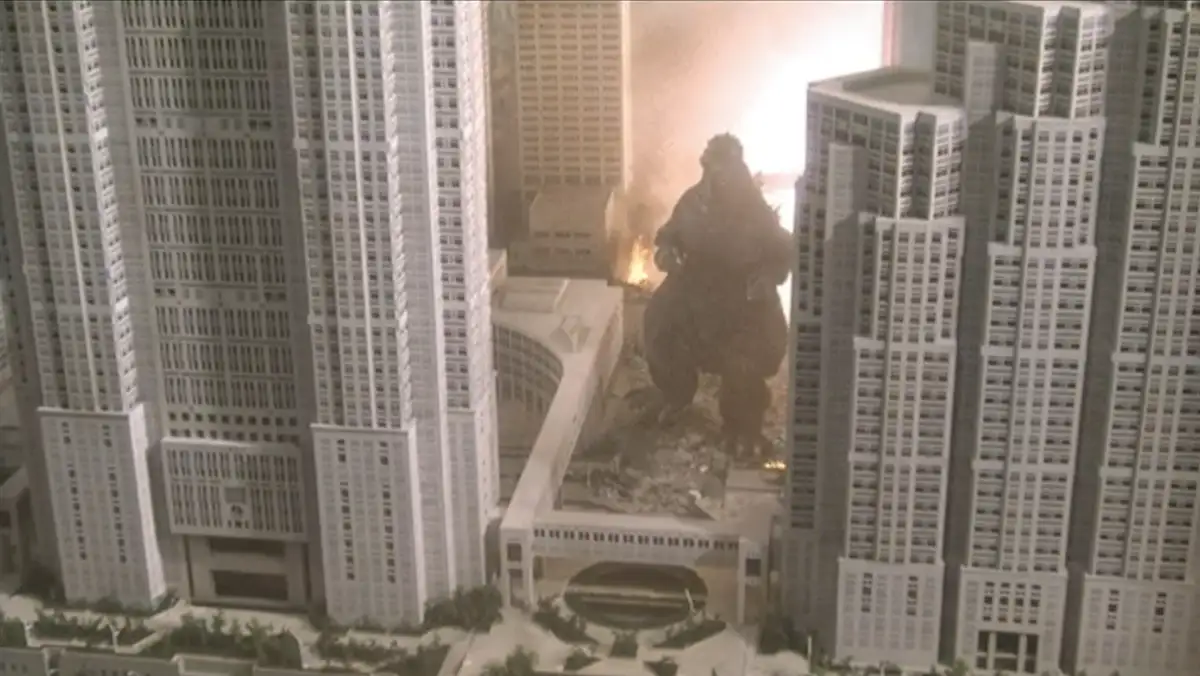
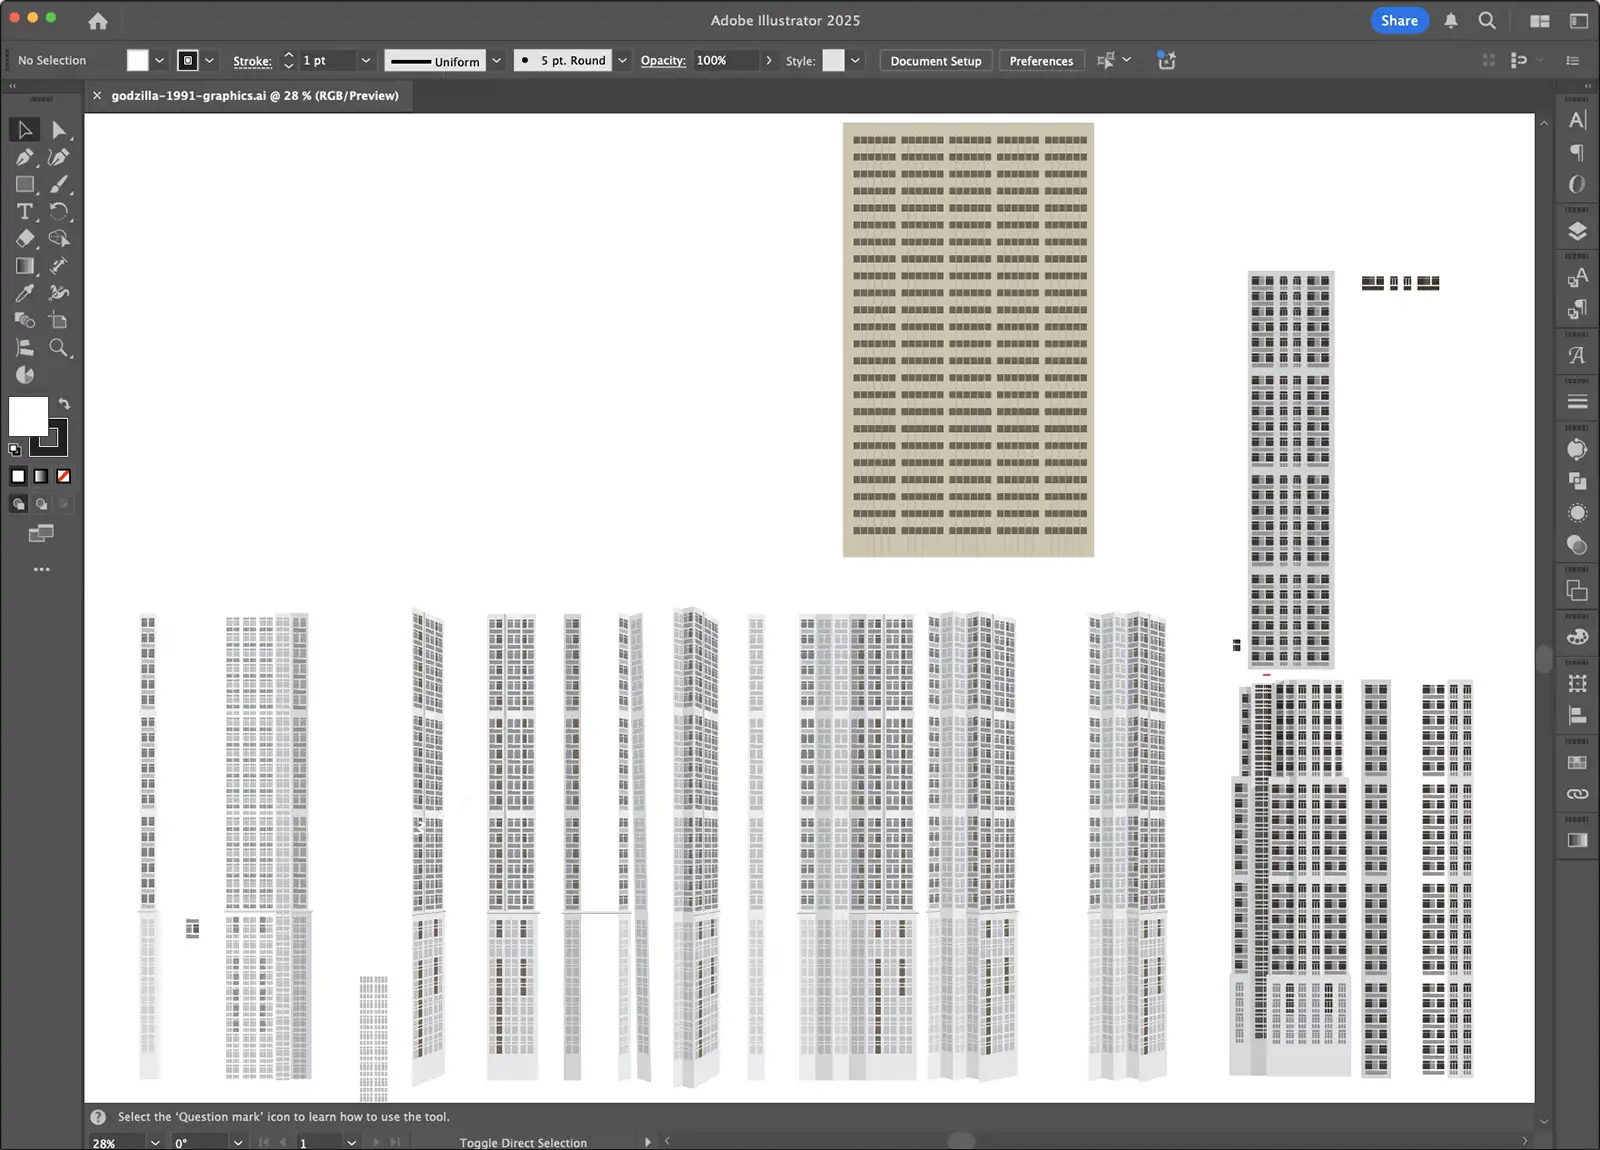
The most time-consuming, tedious and challenging step of the process is (8) creating a seamless scene where Godzilla feels at home surrounded by art made from hand drawn elements and bits of stock. For the Godzilla 1991 art, there was little sky to worry about. But I needed certain enough background and foreground elements such as broken ground to evoke the battle in Shinjuku from Godzilla vs King Ghidorah (1991). I keep a folder of graphical elements for reuse in my toy photography that include smoke, clouds, fire, sparks, debris, dirt, etc. The biggest challenge was recreating Tokyo Metropolitan Government Building. There was no stock images available. I was informed that I could not use any image because there was no time to get permission for its use. So I had recreate the buildings in Adobe Illustrator. The process was fun and very familiar. As a graphic designer I’m always creating simple and complex shapes and patterns. The Metro building has readily identifiable window patterns that made the graphic look convincing. The entire building was not needed but only portions to set on the left and right of Godzilla. I used shadows and small portions of stock photos of demolished buildings to create demolished elements. Each portion was imported into Photoshop where noise, texture, shadows and blur were added to create a sense of depth and realism. I added a street pole, fire and traffic patterns in the bottom right foreground. I was liberal with the smoke and added white debris. I blurred and faded Godzilla’s tail into the background smoke. I also applied a Gaussian and motion blur on Godzilla to make the figure and scene feel more cinematic and realistic.

MyKaiju Adobe Illustrator file of Tokyo Metropolitan Government Building art

When I felt satisfied with the composition and integration process, (9) I create a brew of various layer adjustments for color, contrast, noise and more to achieve art that looks familiar to an iconic scene or some well-known photo that Godzilla fans would have seen many times. I’ll shift the color to match such examples. For the battle in Shinjuku, most shots and stills have a warm or cool hue. I felt making the art warm was the best approach. My final Photoshop file was 3.76 GB with 84 layers. Here is a short video of the composition of the final Godzilla art.

The making of the box art for the X-Plus Yuji Sakai Godzilla (1991) Shinjuku Version Vinyl Model Kit (Audio Credit: ゴジラ出現, The Appearance of Godzilla, Godzilla vs King Ghidorah (1991) OST)

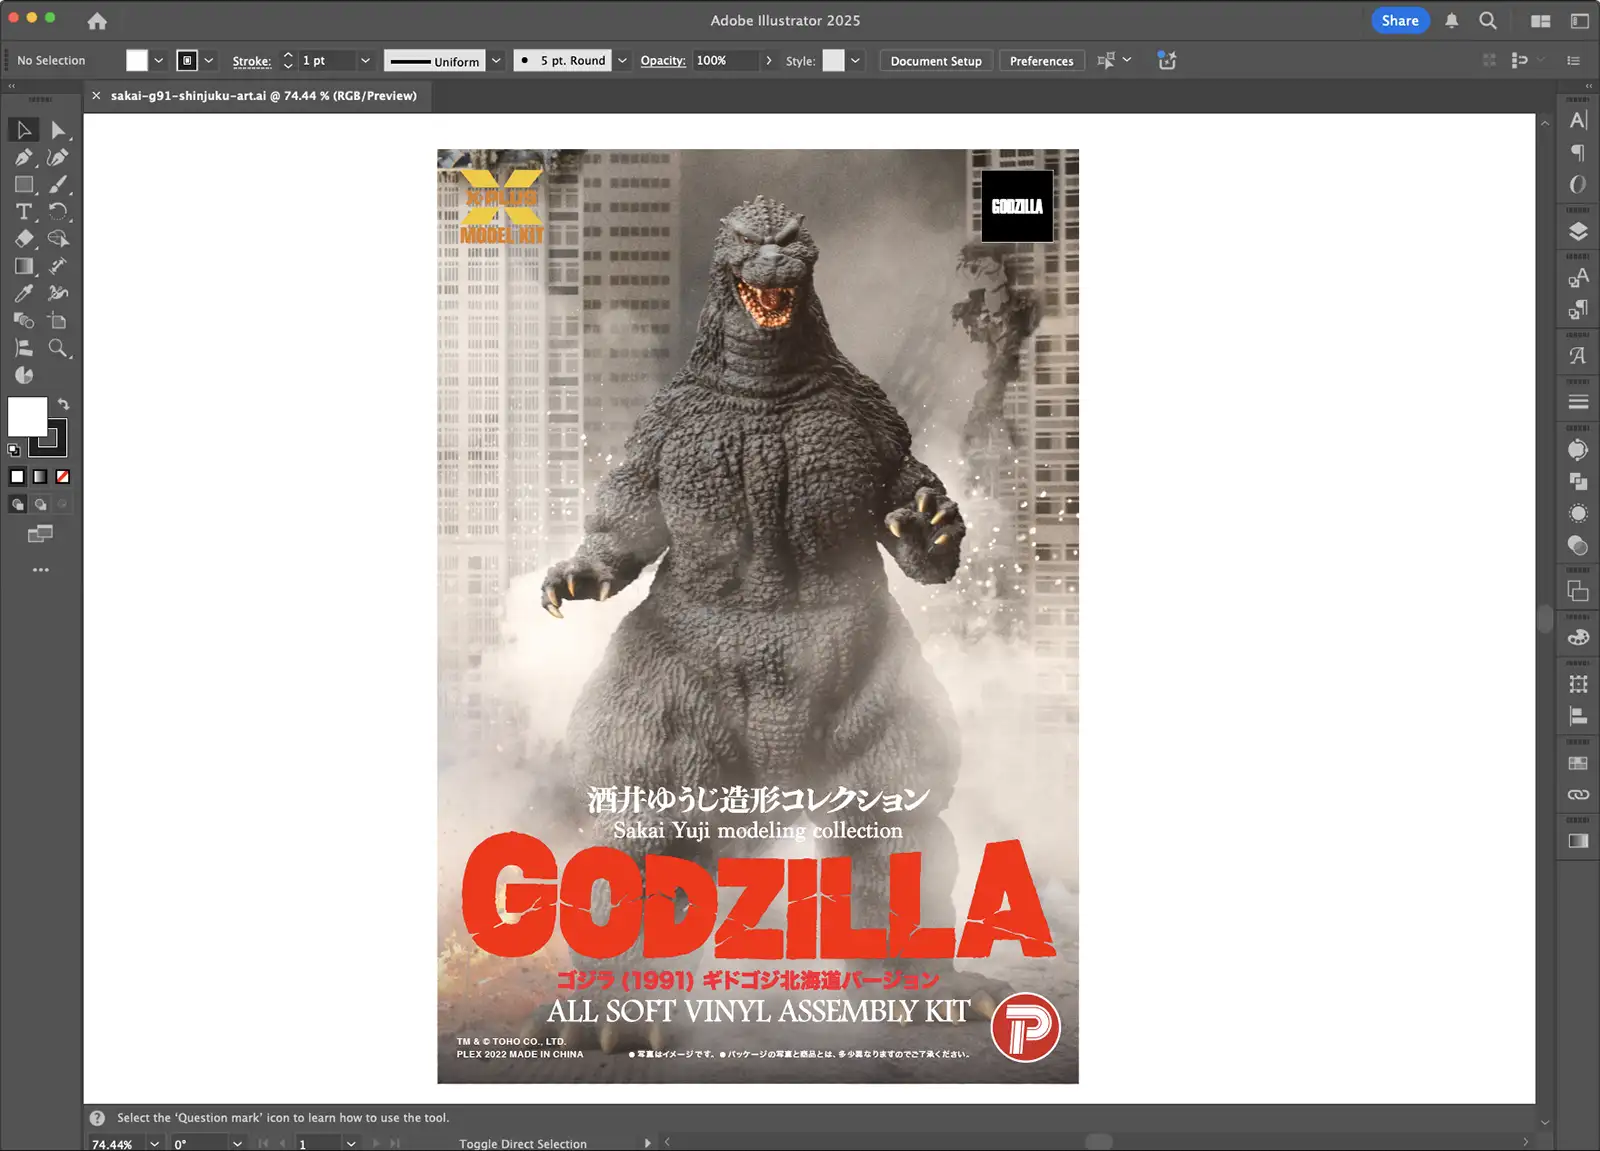
Last in my process, (10) I mockup the box art in Adobe InDesign and Illustrator with the provided dimension, logos, text, etc. In previous projects, I would present several options for the Godzilla logotype. But for the last several projects we have reused previous choices with different colors. Then I send a high resolution pdf to the client for revisions and final approval.

Adobe Illustrator file of X-Plus Yuji Sakai Godzilla (1991) Shinjuku Version Vinyl Model Kit art

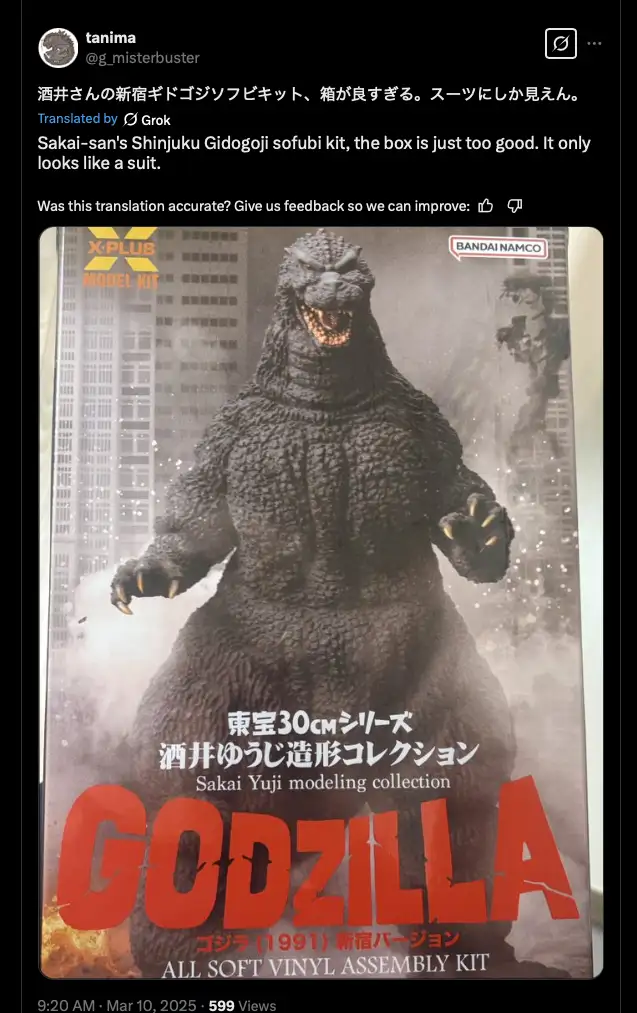
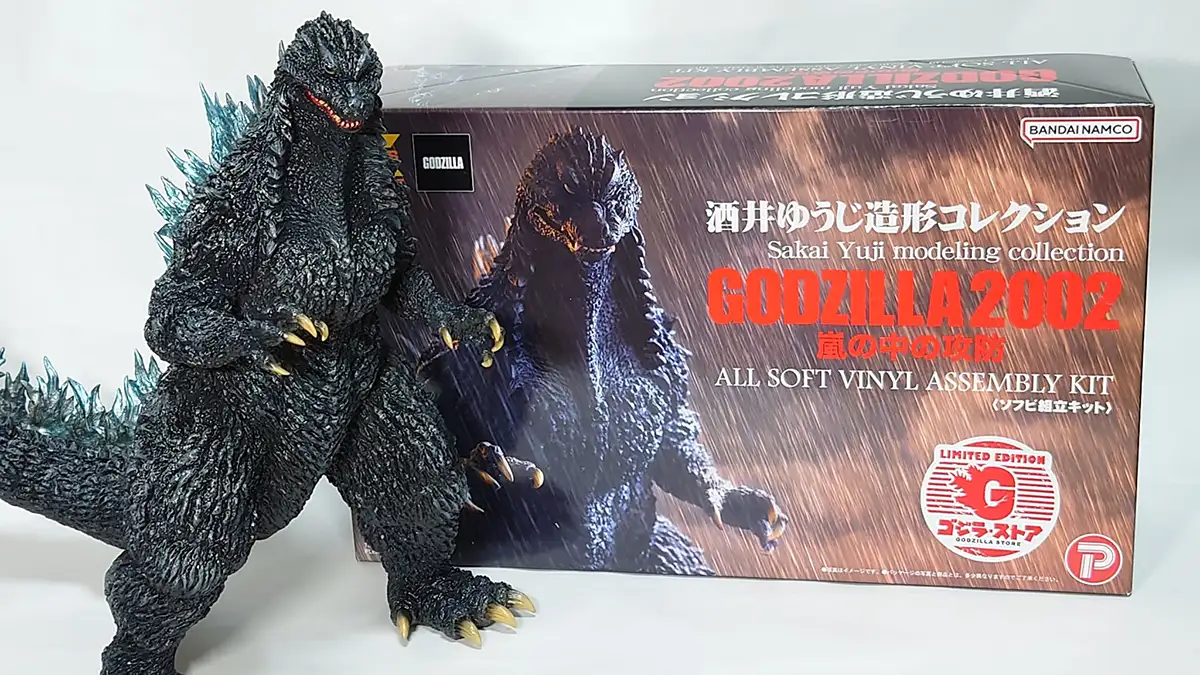
After each kit is released, I monitor social media for reactions by collectors. Positive reviews are comments tell me if I did my job. Boxes are often forgotten and tossed aside. For collectibles, the box art is important and can become highly sought after as the years go by. So I’m elated when I see kit builders pose their figures in front of the box. My job is done.